

I thought an easy way to start inaugurating my new apartment was to come up with some kind of autumn decor. I have some home decor items, but not much in the way of items for specific holidays. But, I needed to do something. And then I remembered: spray-painted pumpkins.
Growing up, I saw my mother do this almost every autumn. Her results were always perfectly fall-ish and sophisticated. That's what I wanted for my first holiday decoration. So I called my mom and received basic instructions. For those of you interested in trying this crafty decoration, remember that my instructions are those of a domestic novice, so at the very least, we're on the same page. (Actually, chances are you're a few pages ahead of me.)
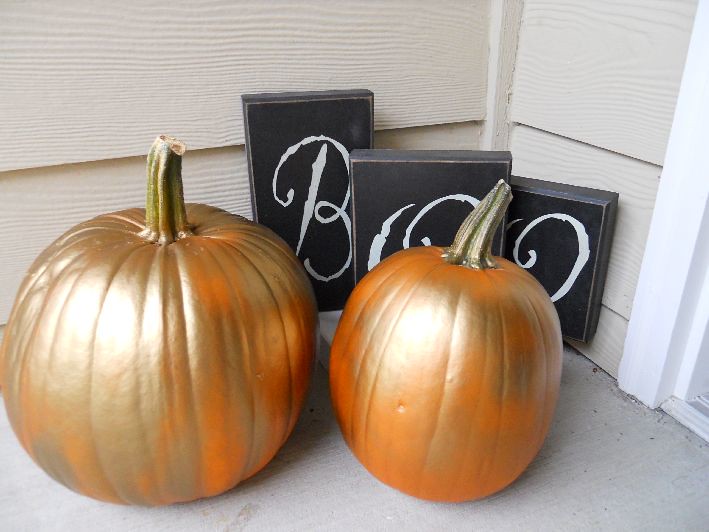
Step 01: Pick the pumpkins. Ideally I'd have three, but pumpkins can be expensive, so for this first attempt I chose two very well-shaped pumpkins.
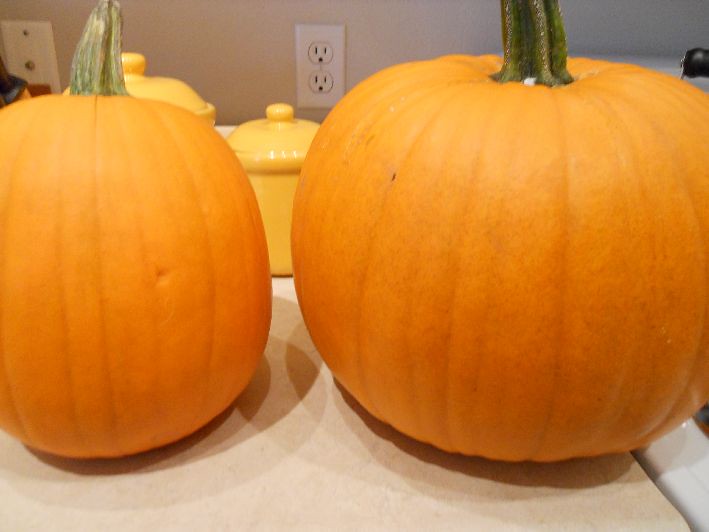
Try to find ones with good stems and in a variety of shapes. I chose one full, round one, and one smaller, skinny-ish one.
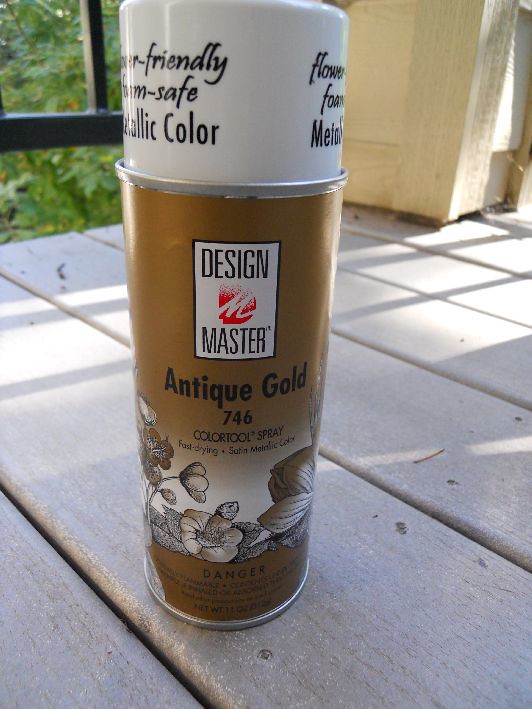
Step 02: Pick the paint. Go with gold. If you don't want gold, do bronze. But really, you should go gold. I bought the Design Master brand; color, antique gold. (You should be able to find this brand at any legitimate craft store.)
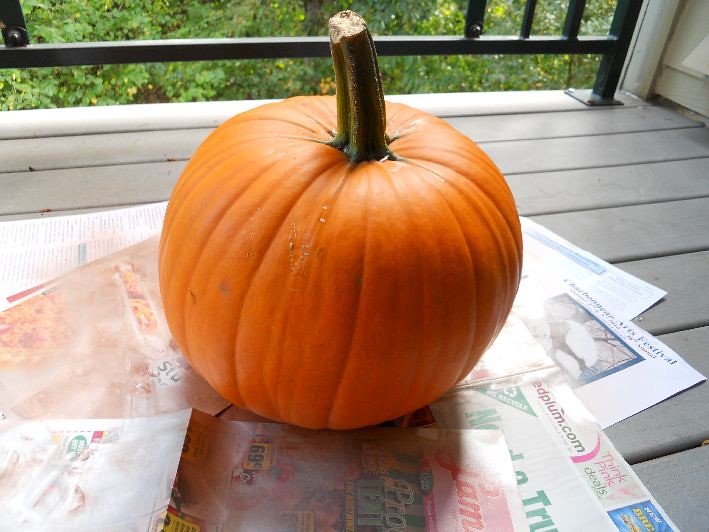
Step 03: Prep the area. Do your spray painting outside and make sure to cover the ground or table with newspaper. Also, make sure to wipe down your pumpkins--you don't want any gross dirt.
Step 04: Spray-paint the pumpkins. This was a little daunting to me. I didn't really want solid gold pumpkins, but I wasn't quite sure how to do that without getting a polka-dot result. I semi-succeeded. Sometimes I walk up my stairs, see my pumpkins, and think that they look half finished. But most of the time I really like them. This step is really the most creative one. Go solid gold if you want, or go for a more gold-accent look while maintaining the orange of the pumpkin. Remember, though, to spray from far enough away the paint doesn't drip.
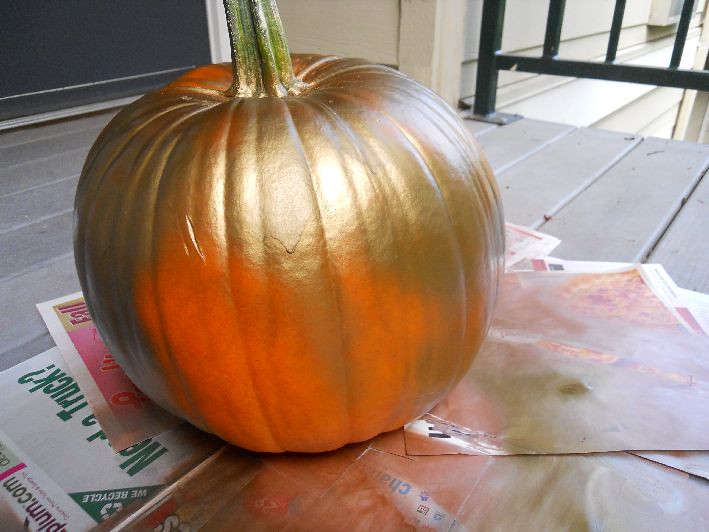
Wait until they're completely dry and then transfer them to where you want to display them. (I like them on the front porch.) I fiddled around with my final presentation for probably close to half an hour. (This was another moment when I wished I had three pumpkins.) But I'm happy with my first attempt. I'm sure that in subsequent years, I'll refine my technique and my pumpkins won't look as camo.
I sent a picture of my final result to my mother, and she signed off on it. Phew. So while in many ways I'm still new to domesticity and still anticipate many phone calls to my dear mother regarding all things domestic, I love it. These pumpkins will stay up until Thanksgiving (and the boo letters will go away come November). I wish you luck in all your domestic endeavors!


11 comments:
Too cute!
Love this idea!
I was ready to glitter some pumpkins this weekend, but we had a pumpkin smasher go through our neighborhood last weekend so I'm thinking I'm going to have to hold off.
Honestly - why do people do that?
Add some gold chains with diamond accents for a more gangsta flavor.
@Ben: Yes. Definitely, yes.
I'm so confused... not about tagging pumpkins, but about the marital status of the guest poster... did I miss something? Was there a vegas wedding over the weekend or something?
Those pumpkins are so cute Charlotte. way to be a famous blogger posting as a guest blogger on a blog is so cool!
How fun to have a guest blogger and one of such distinction and style. I haven't ever tried to paint a pumpkin, but I have enjoyed seeing Michelle's lovely pumpkins that were not only painted, but monogrammed as well!
So glad to see my "recipe" for stylish pumpkins appear! I don't recall when I came up with this idea, but my mother (Charlotte Jane Hunter) and I did indeed have a ritual doing this every year. Sometimes, we would be elves and leave them on other's doorsteps.
I've continued the tradition for probably 25 or 30 years! They are a hit in my retail store in Bucks County, Pa. Over the years, we have come up with different "recipes" using various colors and glazes, AND, glass glitter! They are magical, for sure. One year, we sold the kits to do it yourself, wondering why our customers just didn't do it themselves...not a hit. Spoiled Easterners I guess...
Happy to see you carrying on the tradition!
Aunt Susan
Way to go, Charlotte! I too was going to comment about my mom adding glitter, ribbons, or leaves, depending on the year. One year, I painted a monogram on mine, just to switch them up. People always admire my painted pumpkins. They're so easy to do, just do it!
I love doing the glitter pumpkins...it looks like a Cinderella carriage! (But muy messy.)
I love spray painting and decorating pumpkins and have even used them as table centerpieces for parties I've hosted. I used gold and bronze spray paint and encircled the pumpkins with Hershey's miniatures on the tables. The wrappers are perfect autumn colors. The guests loved taking the chocolates AND pumpkins home as party favors. :)
Post a Comment