

I'm pretty much in love with my felted soap. I would be making some right now if I had more soap on hand, and if I wasn't busy tweaking this little tutorial. I hope you enjoy it. This is a first in the tutorial world for me.
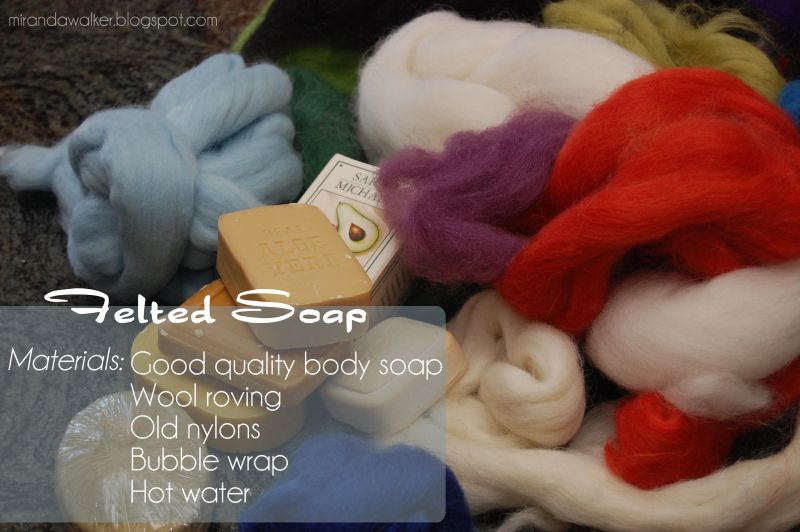
Many yarn shops have roving available to purchase by the ounce. If you don't have a yarn shop in your area there may also be a craft shop that carries pre-packaged roving. I also found that round soap works better than square soap, but it is surprisingly difficult to find quality soap that is nice and round. Dear aspiring soap maker, start making all of your luxurious goat's milk soap in round bars. We can be BFF. I will buy my soap exclusively from you.
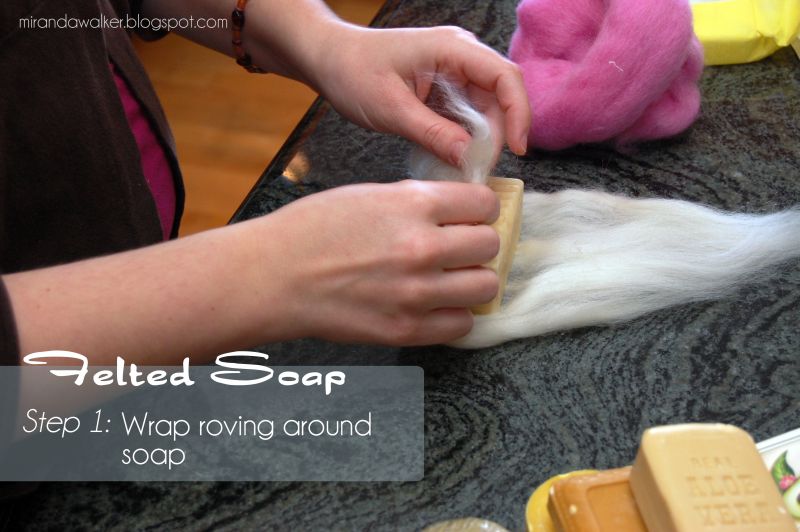
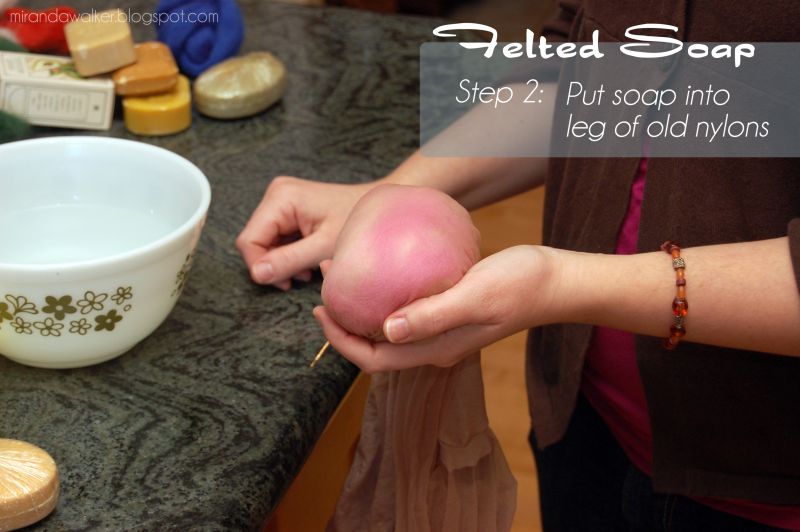
Make sure that you wrap some roving around the soap in both directions. You will use a couple of layers to do this. You can play around with how much roving you use to cover your soap; I tend to like mine with a thicker coating.
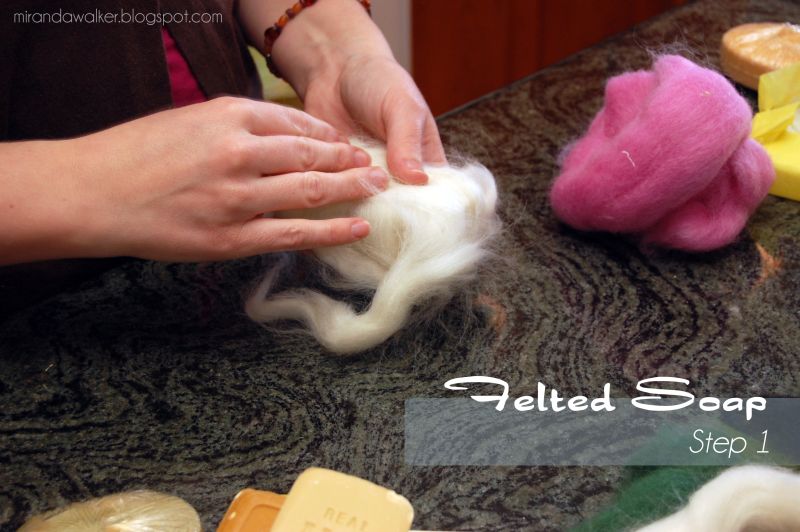
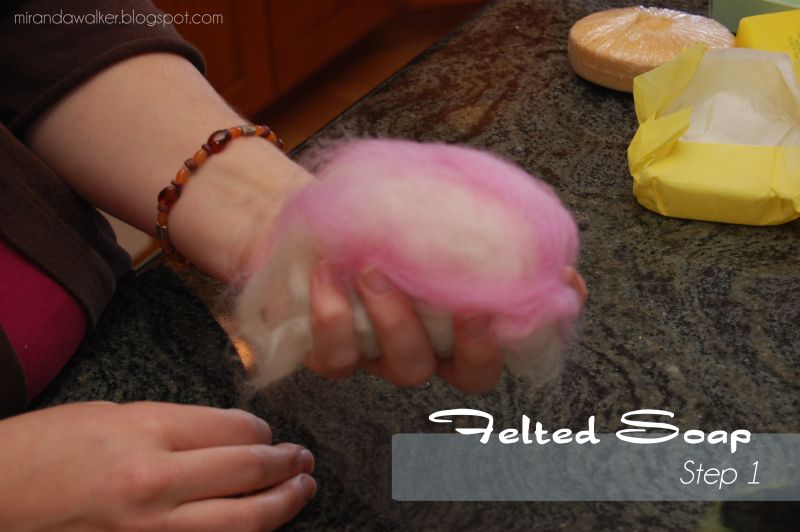
Make sure all of the soap surface is covered and add more colors if you would like.
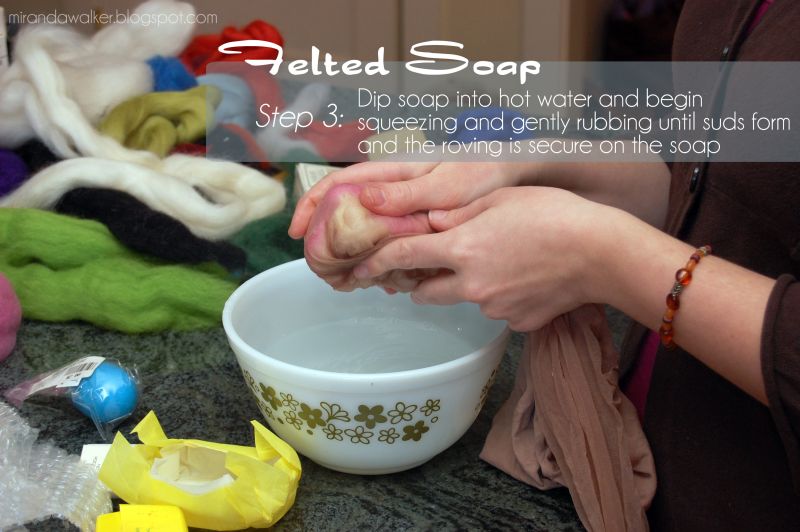
Individual wool fibers have tiny barbs on them that grab together when water, soap, and agitation are applied. Remember that wool sweater that you accidentally put into the washing machine and it came out small enough to fit your baby? This is the same concept. The fibers fuse together and get tighter and smaller until eventually they are tight around the soap.
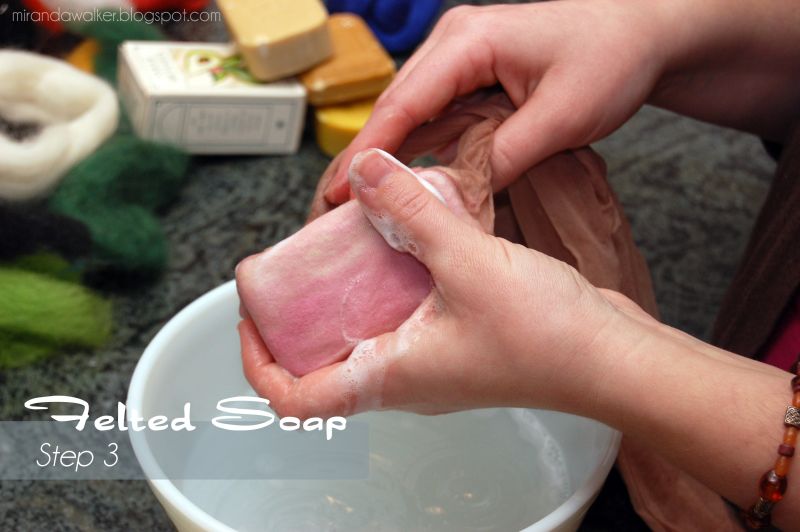
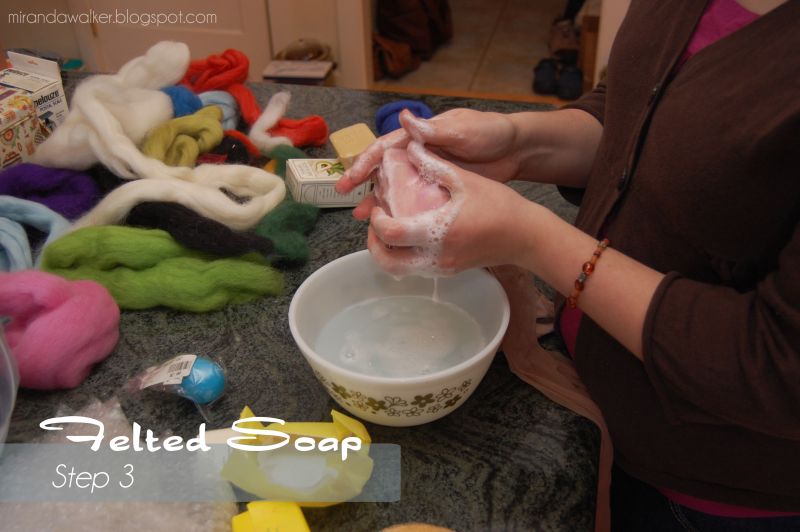
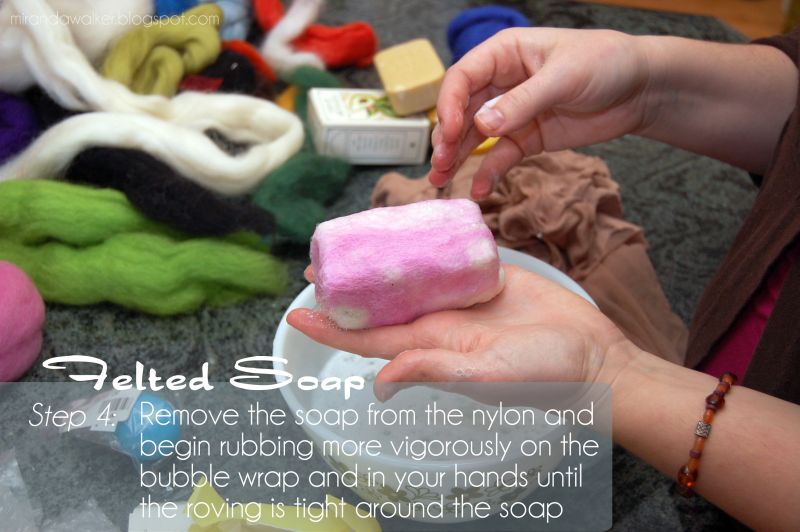
As you're rubbing, you will notice that there are some loose spots. Rub these spots gently at first and then more vigorously as they start to tighten. Be sure to give special attention to the sides and corners if you are working with square soap.

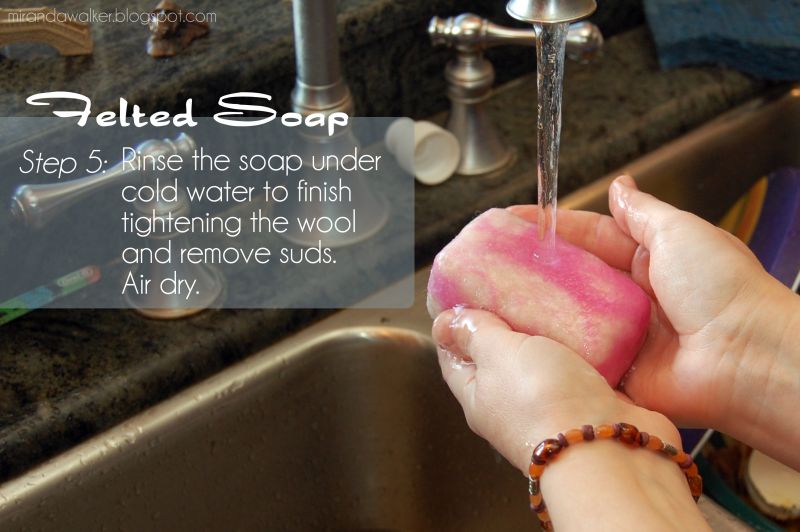
You may choose to dip the soap back into the hot water a few times during this process. The act of dipping the roving in hot or cold water "shocks" the wool fibers and helps them to tighten up. Continue to agitate the roving until you are satisfied with how tight it is.
And that's it! The felt stays on the soap and acts as a washcloth or loofah in the shower and creates major lather. The wool will continue to felt itself as the soap is used and if you're lucky, by the time the soap is gone you're left with a cool little wool ball.
Now. Go felt yourself some soap.
You know you want to.
Let me know if you have questions.


9 comments:
This looks like a fun project.
Your fingernails are really nice. Close up pictures of my fingernails would be horrifying and distract people from the awesomeness of your tutorial. Also, I wish I'd been less lazy when you guys were doing this at Christmas.
Nice job. I've never felted anything before, and I'm not sure I will anytime soon, but if I ever do, this will be a great resource.
This is so interesting! Soap with a built in washcloth! You did a great job with the tutorial.
I TOTALLY want to do this!!
Also, how cool is the photo with all those different colors of wool on your table?
Very Cool! I think this looks like alot of fun, I am definitely going to try it one of these days. I love how you did your tutorial, it looks so good, and very easy to understand. Love your guts!
wow, totally cool! It was easy to understand and just so you know i happen to milk a goat now and the. you have insoired me to learn to make goat milk soap. let me know when you are in the area and we'll have to give it a try!
I have never even heard of felted soap before, but was intrigued by your giveaway post at the top. It does look kind of fun to make! Now I'll know to be on the lookout for nice soaps for you the next time I go to HomeGoods or TJMaxx.
Great tutorial! Placing the roving & soap in hot water first is a great tip, and not something I had come across before. I had just picked up some roving wool, so got to put your tutorial to the test and it worked a treat - thanks!
Post a Comment